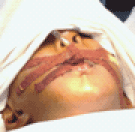
Figure 6:
Successful placement of the tracheal tube.