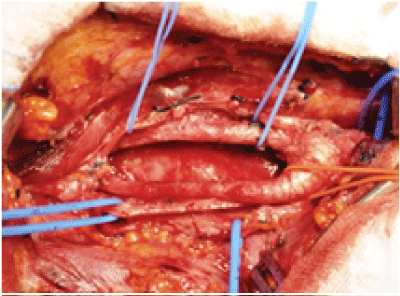
Figure 3B:
Carotid bifurcation anatomy after complete tumor resection.