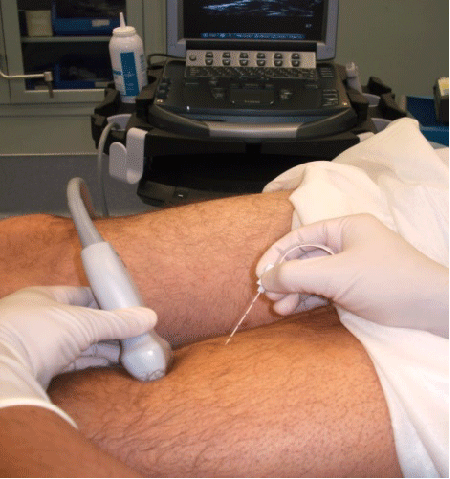
Figure 8:
The approach for the saphenous nerve block.