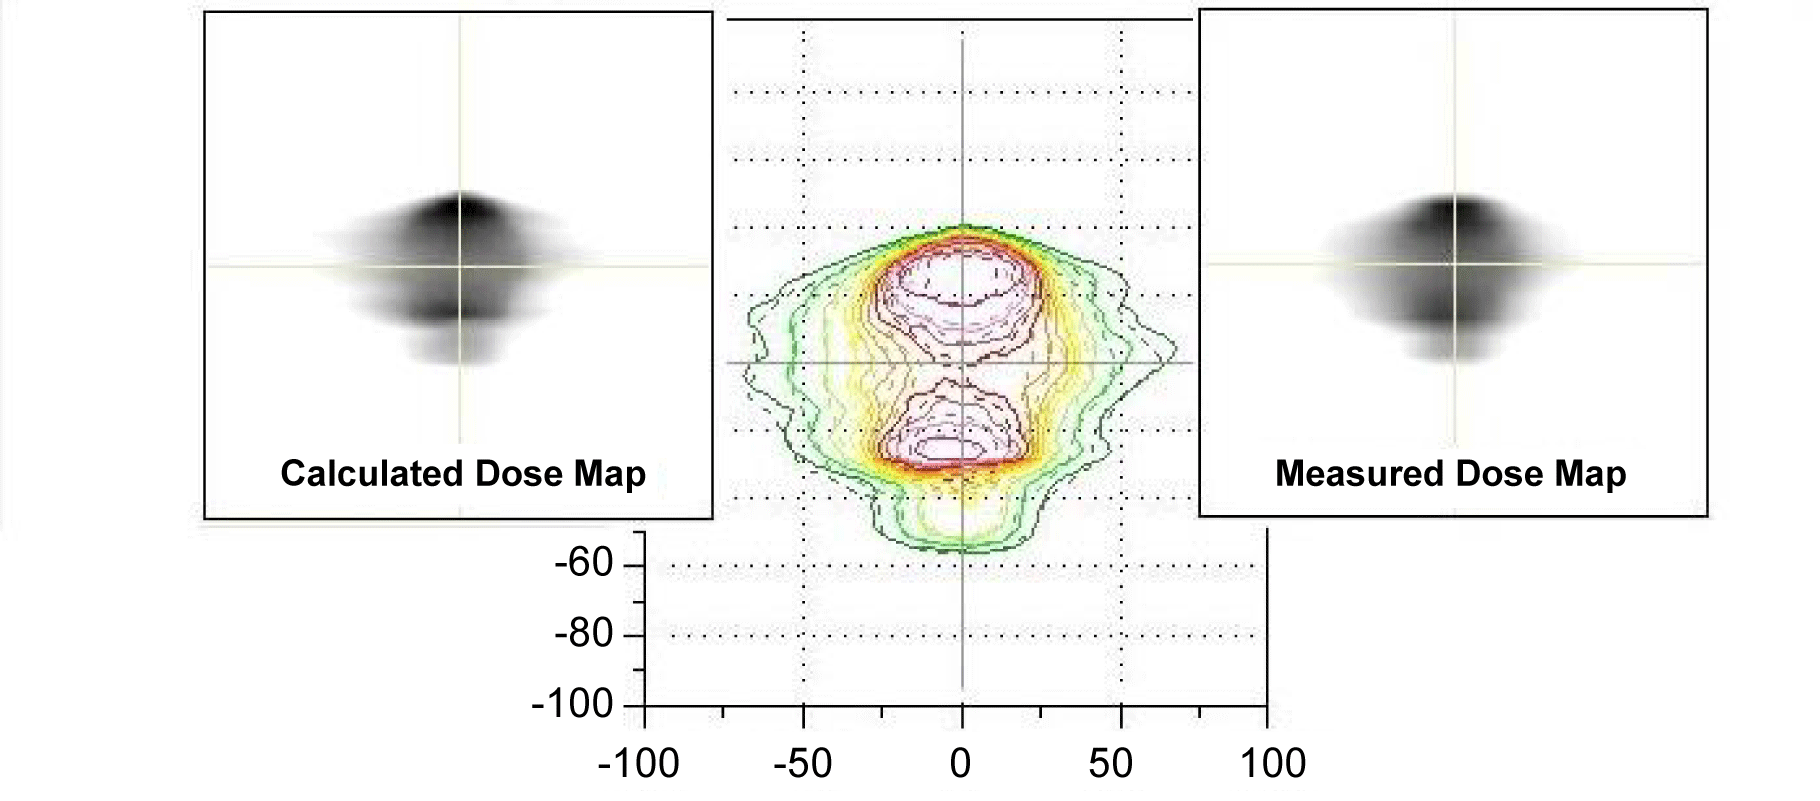
Figure 3:
Calculated and measured dose fluence maps and their isodose comparison.