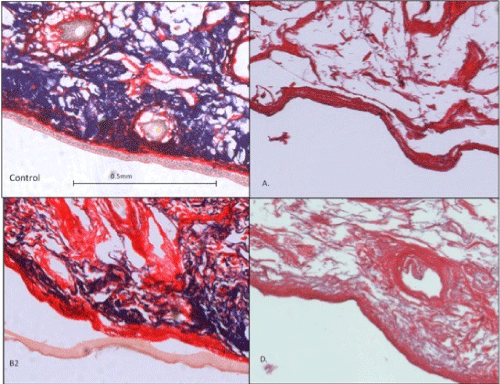
Figure 5:
Areas of disruption with large portions completely removed